(Archive of: http://www.thing-a-day2.com/2008/02/04/day-4-thing-4-aduino-adaboot-programmer/)
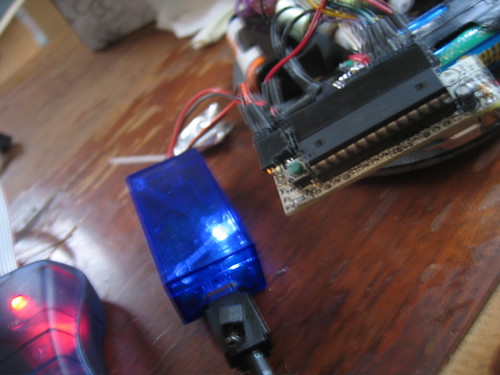
I was using the programming half of a a bulky prototype that I have been working on to program one of the mice from Day 1 and I looked at the pile hanging precariously off of the coffe table and thought to myself.
“I need to just build one of these. “

So I did.
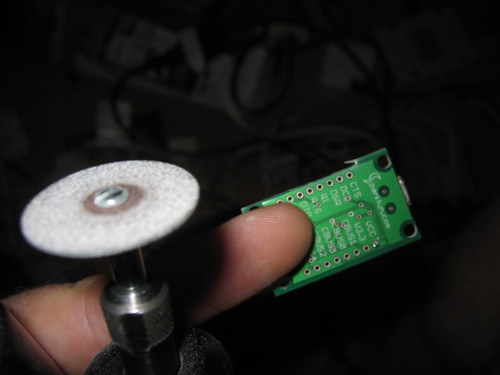
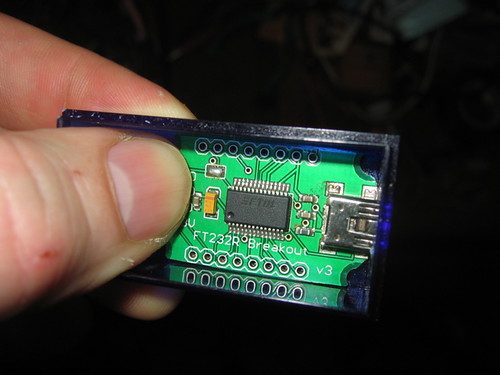
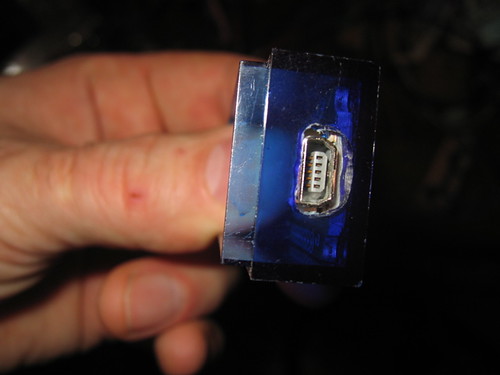
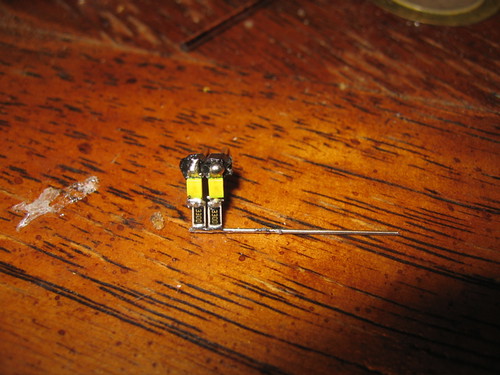
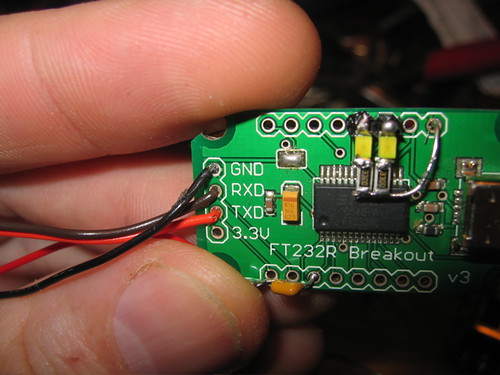
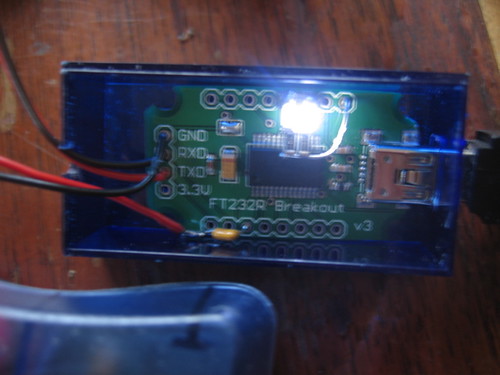
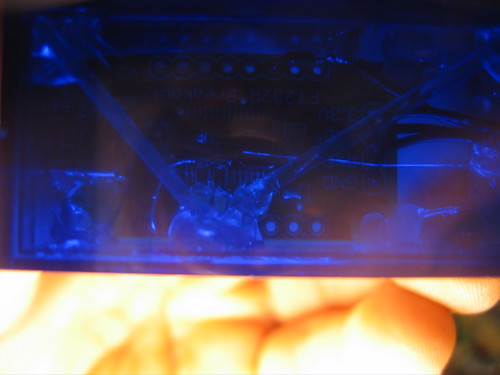
The programmer is based on the Auto-Reset Hack and the AdaBoot bootloader. The reset is pulled by putting a capacitor on the DTR line of the serial interface which is also the bootloader interface. Most people put the cap on the Arduino but I put it on the programmer (where it belongs). This programmer was built using the ftdi ft232rl breakout board sold by sparkfun. I had to trim it down to get it to fit in the pretty blue box i bought at Tap Plastics. The chip out of the box presents two of its 4 gpio (general pourpose i/o) pins to indicate when serial is being sent and recieved. I wired a pair of very bright leds that I had to them and then tried to pipe the light to the corners using some translucent plastic tubes and hot glue. It looks pretty cool!