(Archive of: http://www.thing-a-day2.com/2008/02/10/day-10-thing-10-wheel-watchers-for-hacked-tamaya-mouses/)
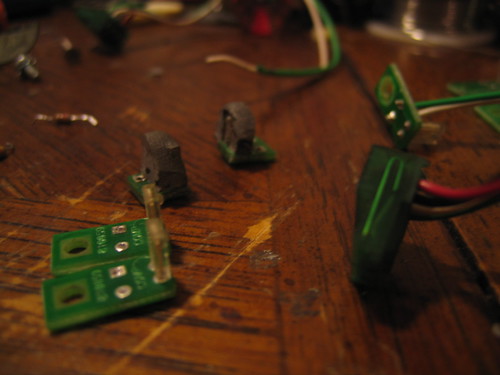
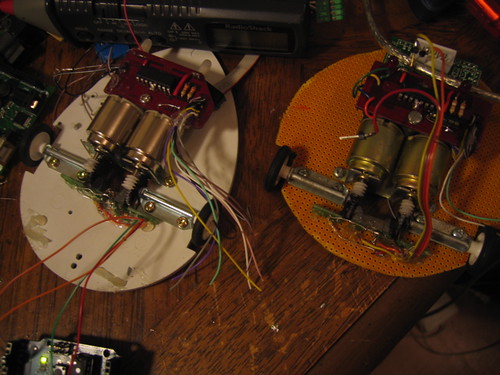
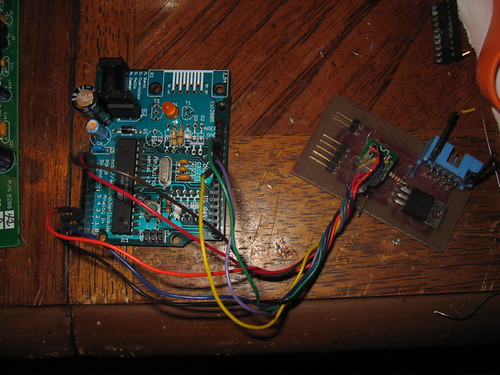
My son aidan and I have been working on a pair of arduino based robots. Today I had him look at the boards from the check reader pile and reverse engineer the emitter detector pairs that tell the reader when the check is present. 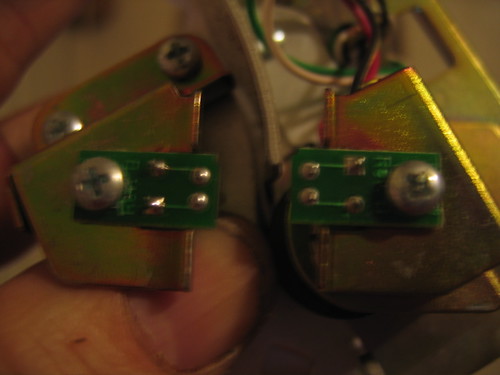 After poking around at the circuit board he came up with this diagram.
 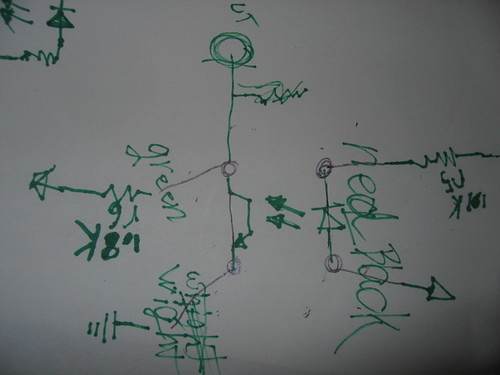 Which we distilled into this circuit.
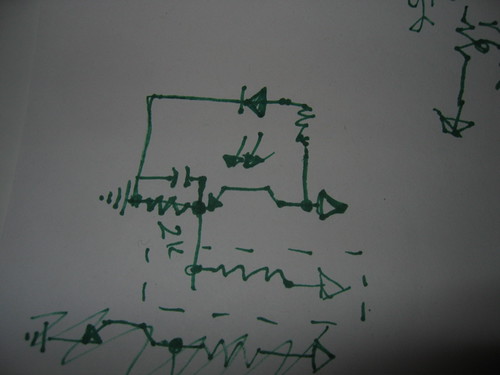
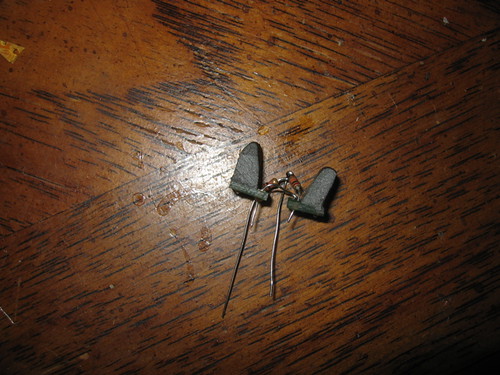
I was making a set of paper encoders to attach to the wheels but aidan thought it would be better just to use the holes in the gears 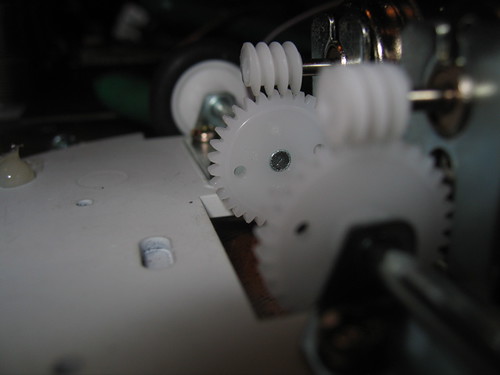 After a trip to the hardware store for some epoxy putty to sheild the phototranister, I put two pair in each of the Tamaya Wall Following Mouse based robots and bench tested them with an arduino.
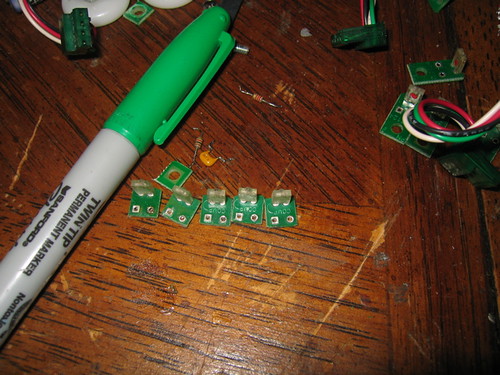
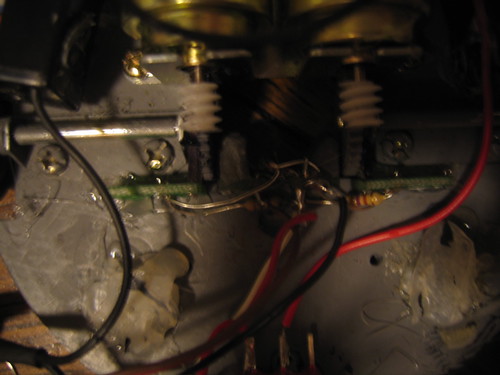
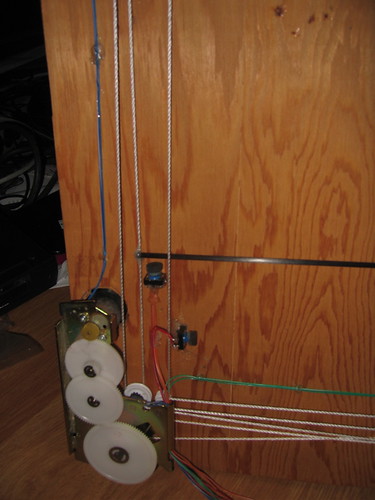
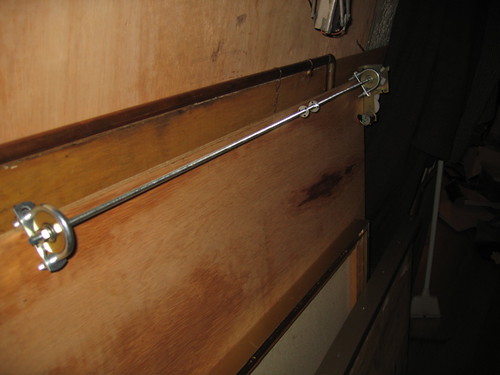
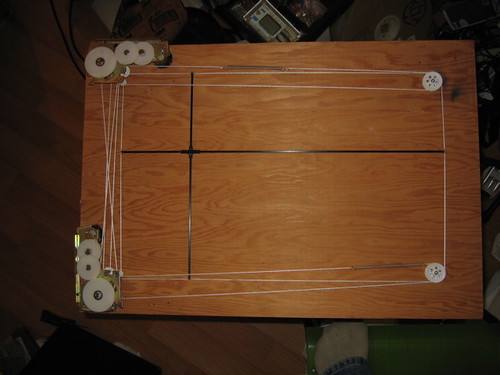
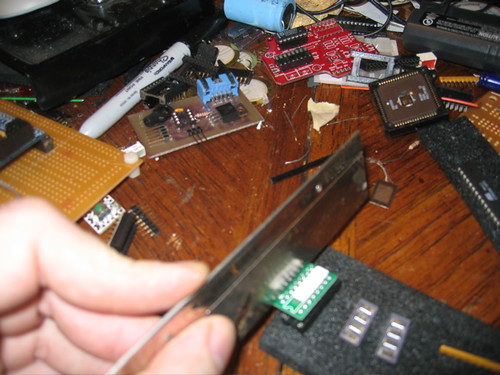
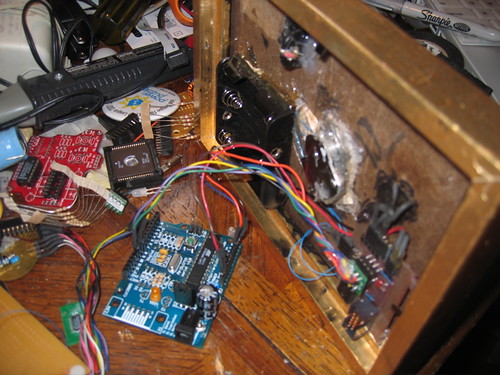
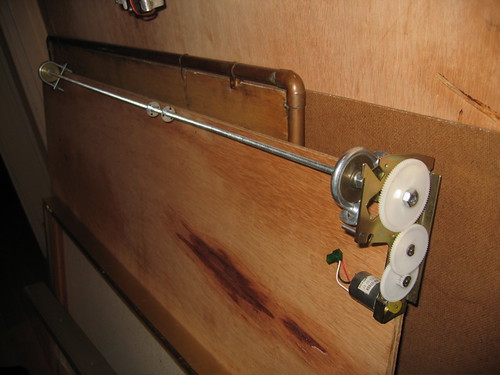 Today I made 2 new pieces of things but not the new thing that I had intended as todays thing today. So for now the the y axis that I built for a future drawing machine, and the limit switches that I added to the etcha sketch mechanism will have to do. The etch a sketch mechanism along with 3 of the other robots need rotation sensors. I plan to build them out of the ir emitter detector pairs that all of the check readers have.
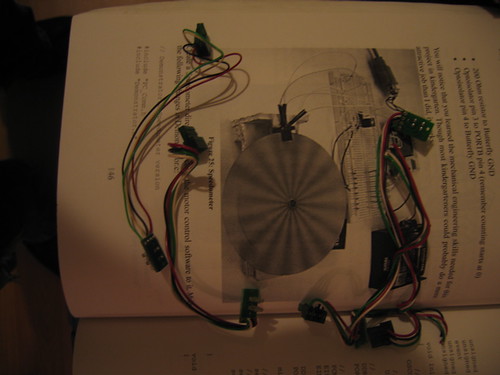
 Several years ago I took apart an Etch-A-Sketch and took notes on the “complicated pully system” inside. have wanted to build one of these since then. With this and several other projects in mind I bought a small pile of Tamaya pully sets. (this project ate most of 3 of them)
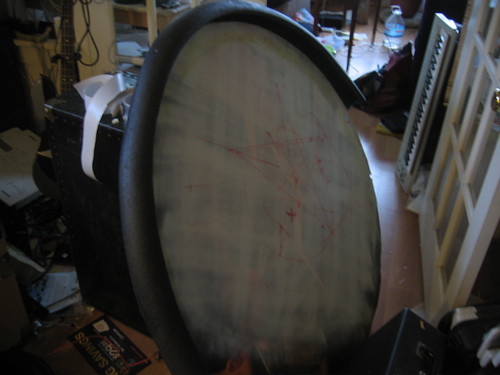
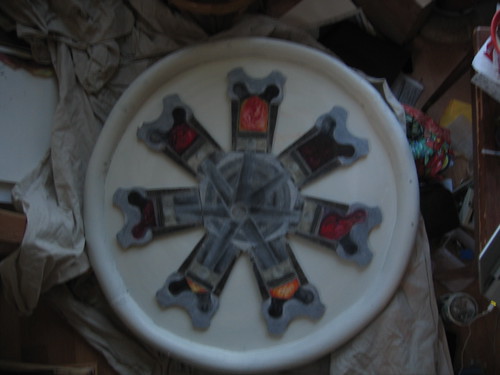
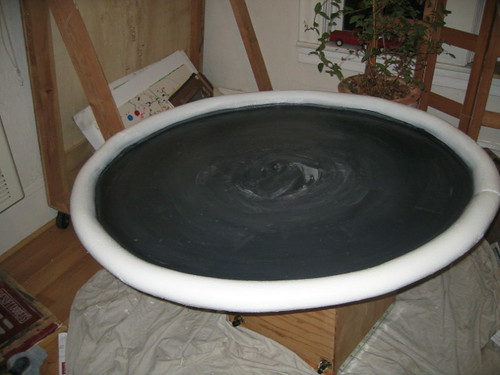
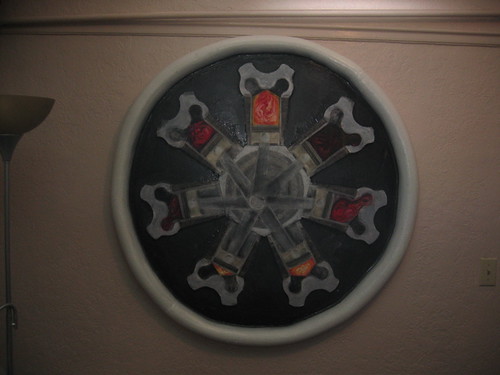
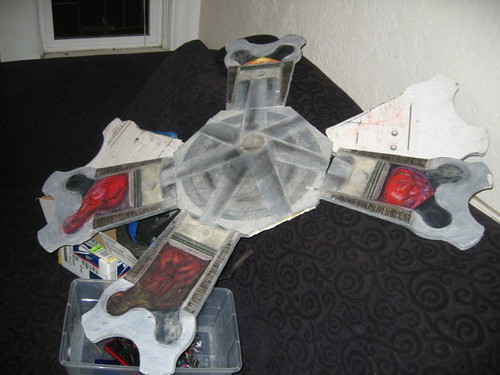 I have a painting that I did almost 10 years ago called internal combustion. It was done on blueprints fixed to foamcore. The piece is about 40″ in diameter and has been moved 8 times. It has clearly seen better days. I wanted to build a frame for it. As it is a radial engine like in an airplane I thought a cowling would be an appropriate shape. I dumpsterdove some pipe insulation and cut a circle in some foamcore. My head is still a little messed up from the contact cement but it is done.
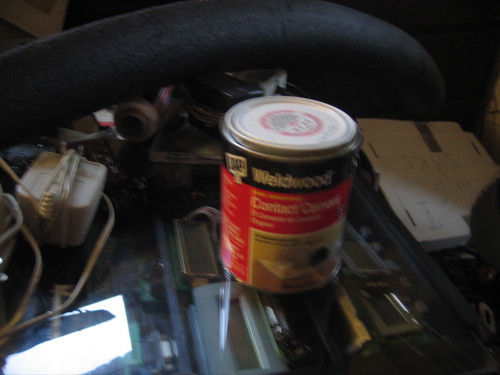
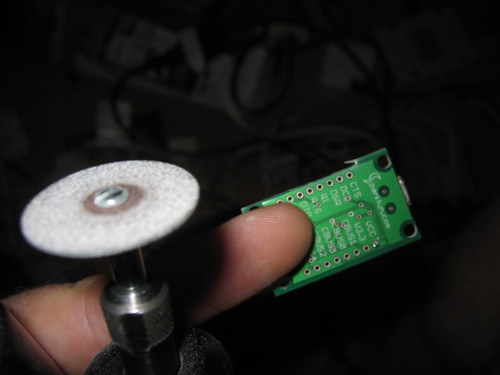
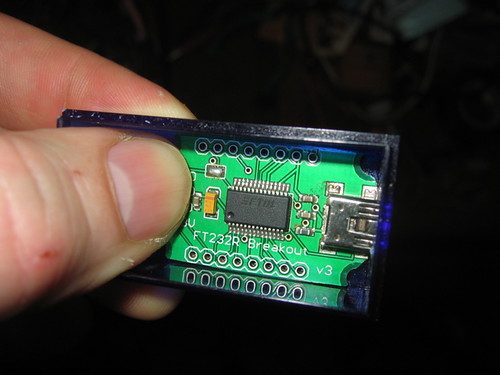
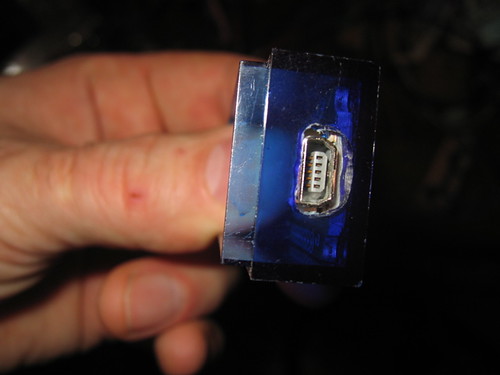
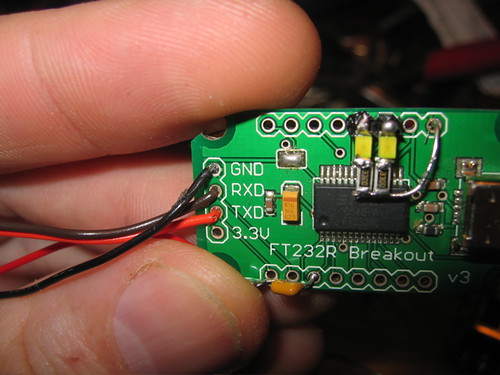
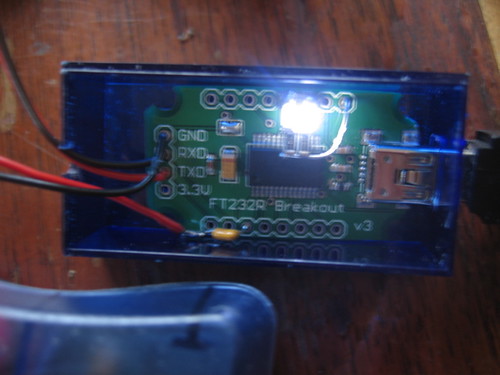
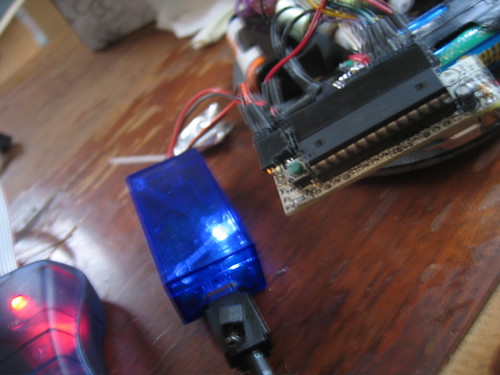
 I was using the programming half of a a bulky prototype that I have been working on to program one of the
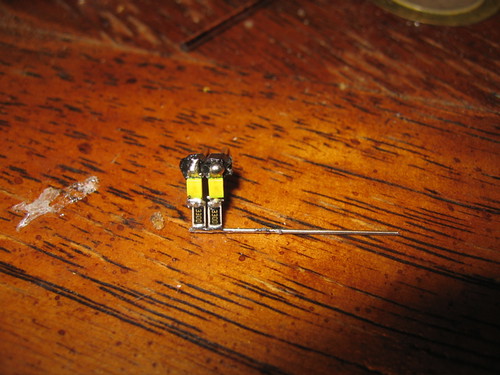
 A while ago I started working on a flapping wing mechanism using voice coils taken our of hard drives. To drive them I built a set of boards based on the Atmel tiny45. After getting the basic motion down I wanted to use a light sensor to detect motion so that they would only move when something was around to watch them.
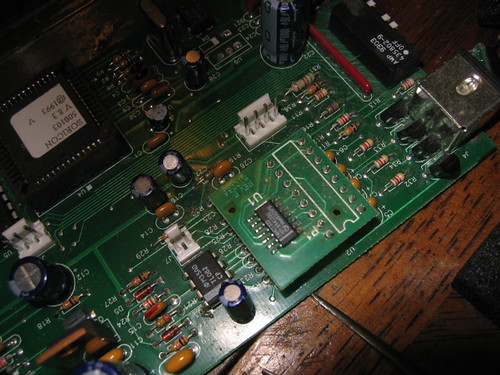
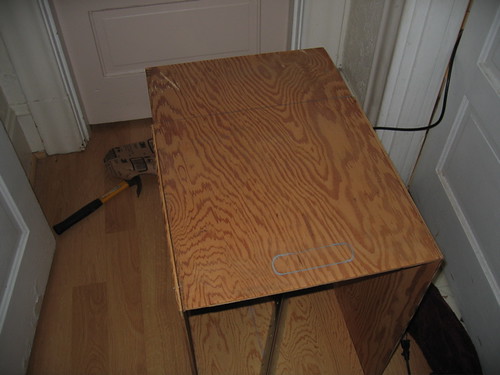
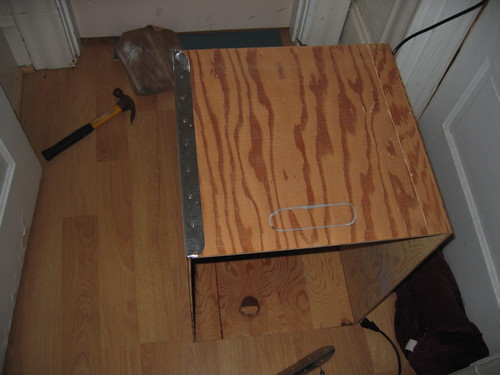
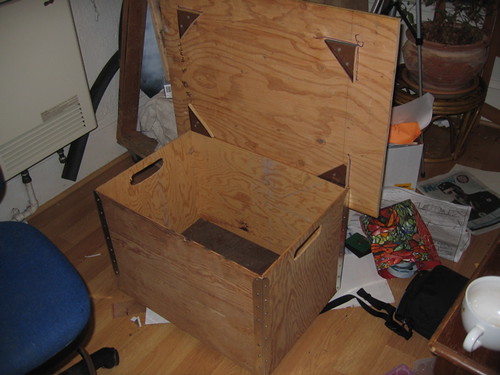
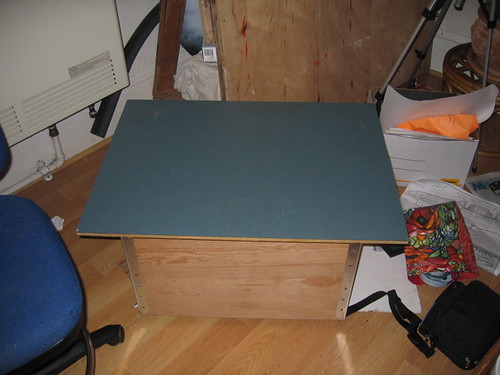
 As preparation for moving out of my storage space I went to IKEA with my g/f and spent 100 that I didn’t really have. I got the idea that I could make them cheaper. I went to the hardware store and got an 8 foot section of drywall corner for $1.50. I originally wanted to do boxes that were “compatible” but realized that I had scrap that allowed me to build the main part of the box with only 2 cuts. (this is important as I only have a scroll saw) I was going to build a second box but the blade wandered and broke so I called it a day.